Media Library Recovery
Overview
Recover files that exist on your server but don't appear in your Media Library. After site migrations, hosting transfers, or database restores, image files often get orphaned - this plugin reconnects them.
Have images on your server but they don't appear in your Media Library?
This plugin solves the common problem where image files exist in wp-content/uploads but are missing from the database. It scans your uploads folder, finds orphaned files, and rebuilds database entries to restore them to your Media Library.
How It Works
Install and activate
Navigate to Media > Media Recovery
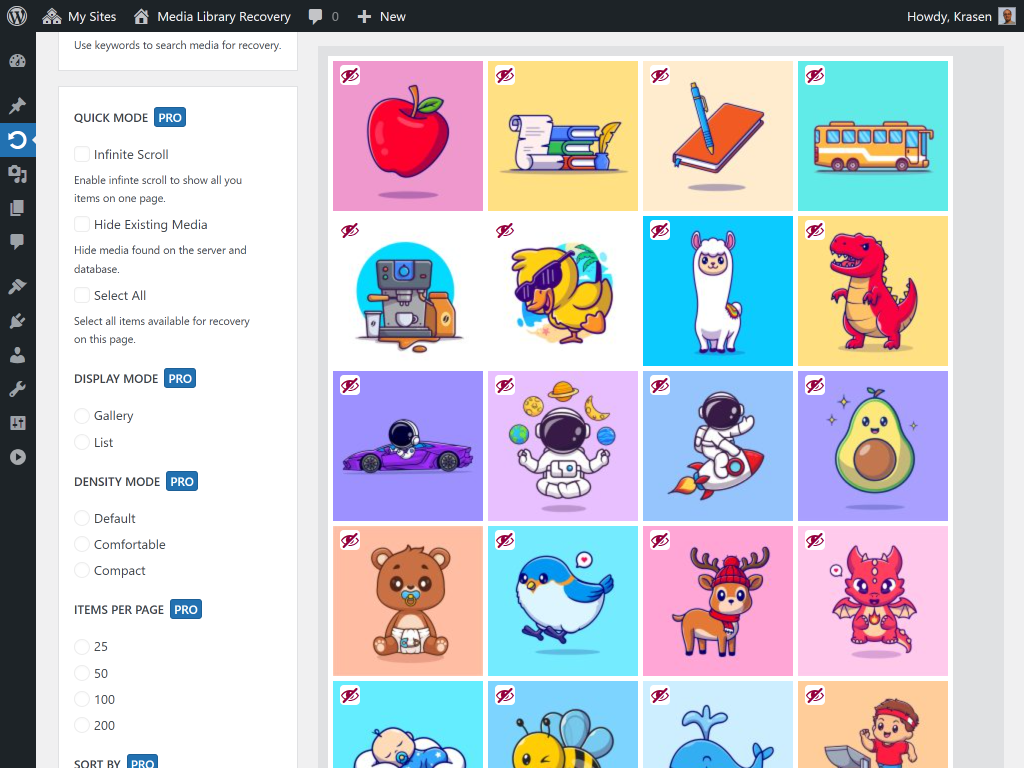
Media Explorer shows all orphaned files
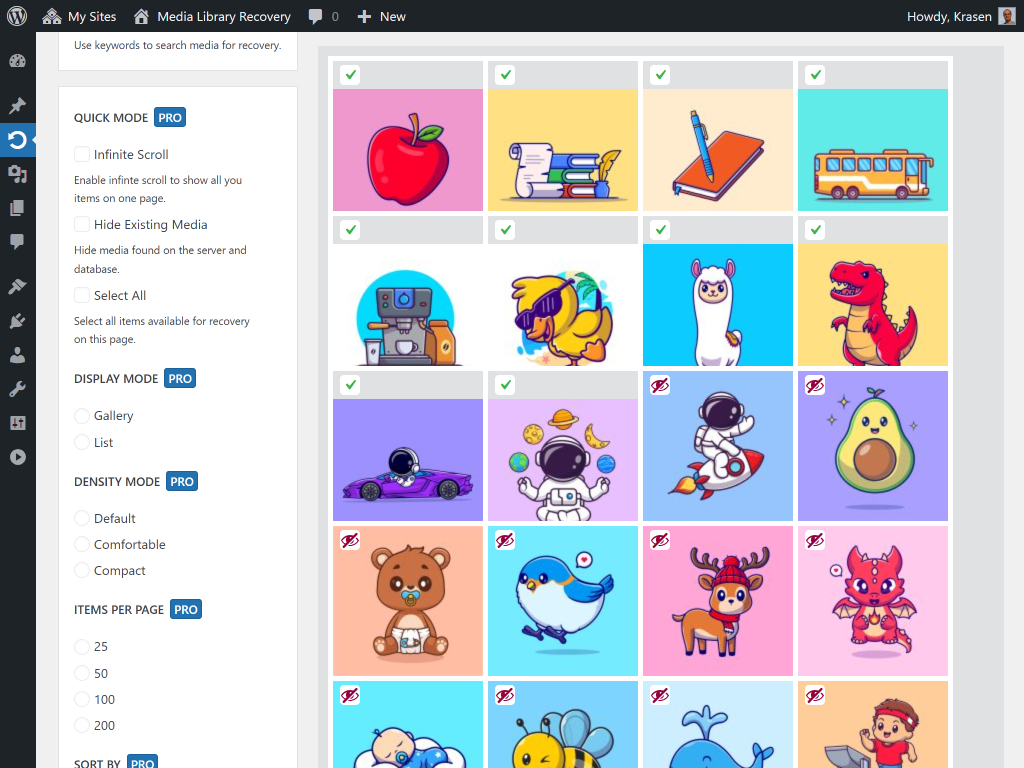
Select up to 10 images to recover (free version)
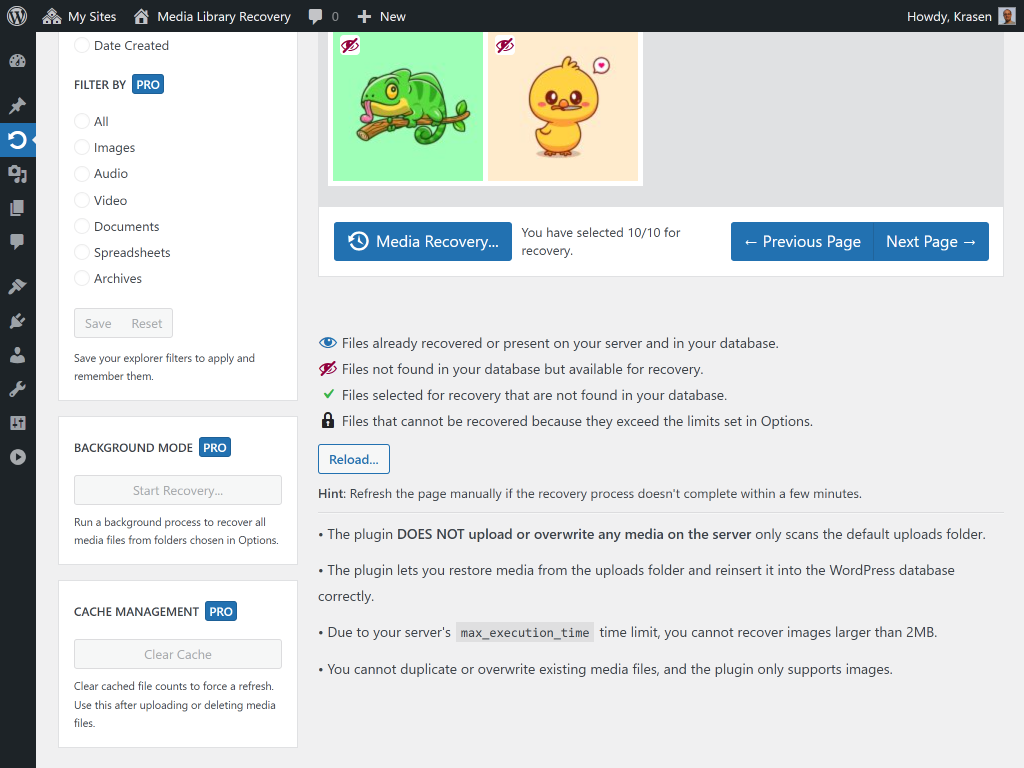
Click Media Recovery button to rebuild database
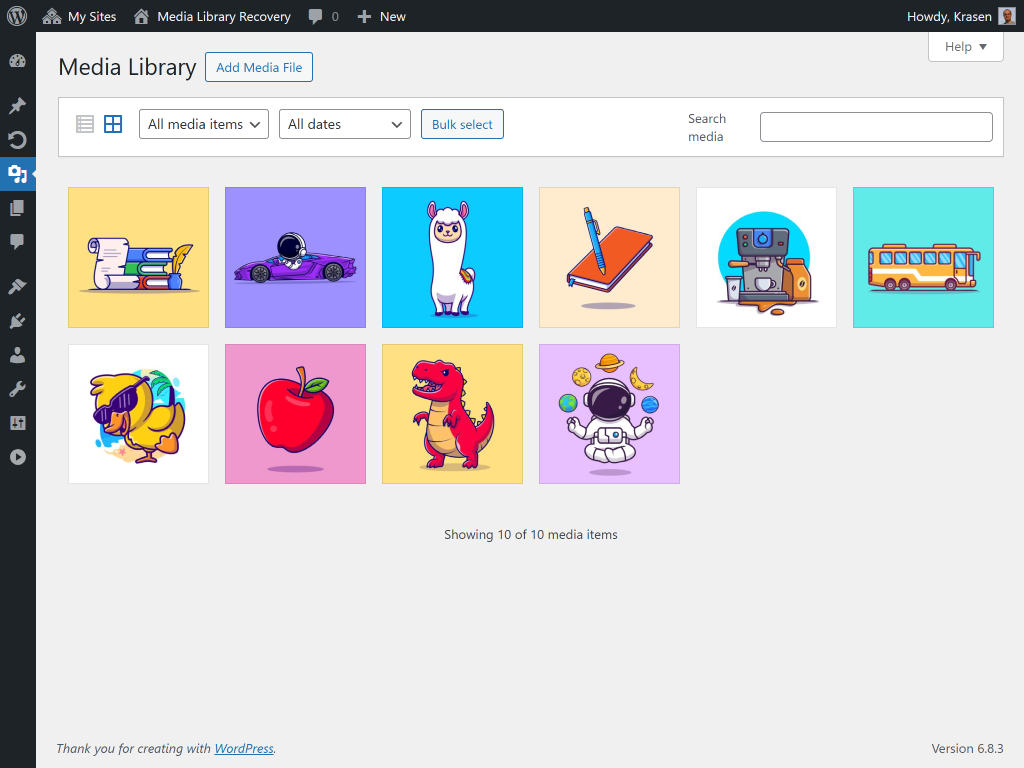
Check Media > Library to confirm restoration
Repeat for additional batches
Zero file uploads - plugin only reconnects existing server files to database.
Perfect For
- Move sites from localhost to production
- Migrate to new hosting provider
- Recover from database restore issues
- Fix broken Media Library after migration
- Resolve orphaned file problems
- Transfer between staging and production
Features
Powerful features designed to enhance your WordPress experience.
Restore lost Media Library files
Fix orphaned files on server
Visual Media Explorer interface
No file upload required
After migration recovery
Hosting transfer support
Batch processing
Installation & Setup
Get started in minutes with our step-by-step installation guide.
- Go to Plugins > Add New
In your WordPress dashboard, navigate to the Plugins menu and click Add New.
- Search for "Media Library Recovery"
Use the search box to find the plugin and click the Install Now button.
- Activate the plugin
After installation completes, click the Activate button to enable the plugin.
- Download the ZIP file
Download the plugin ZIP file from WordPress.org or from the download button above.
- Go to Plugins > Add New > Upload Plugin
Navigate to the Upload Plugin section in your WordPress dashboard.
- Choose file and install
Select the ZIP file you downloaded and click Install Now, then Activate.
- Download and extract
Download the plugin ZIP file and extract it on your computer.
- Upload via FTP
Upload the extracted folder to /wp-content/plugins/ on your server.
- Activate from dashboard
Go to Plugins menu in WordPress and activate the plugin.
After Activation
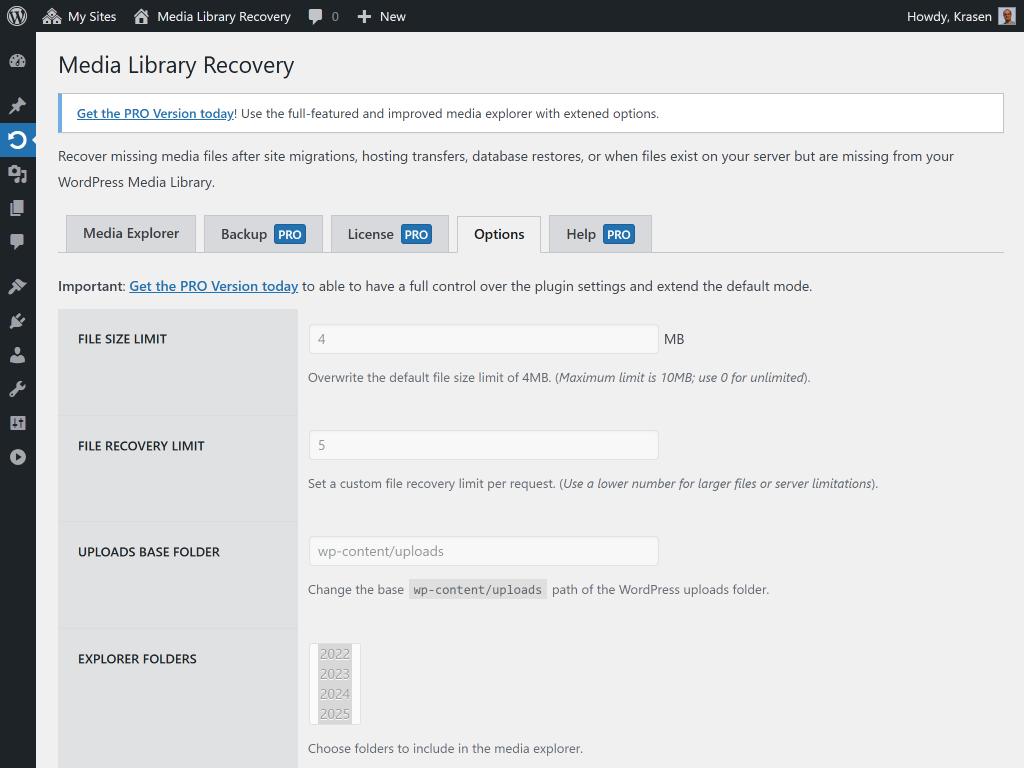
- Go to Media > Media Recovery
- Media Explorer displays all files in uploads folder
- Toggle Hide Existing to show only orphaned files
- Select up to 10 images with checkboxes
- Click Media Recovery button
- Wait for database rebuild to complete
- Check Media > Library to verify restoration
Screenshots
See the plugin in action with these screenshots.
What Users Are Saying
I love that all these plugins follow WPCS standards. Makes my job as a code reviewer so much easier!
Security-tested plugins that actually work? Sign me up! These are now my go-to recommendations for clients.
Frequently Asked Questions
Common questions about this plugin.
Yes! After site migration, files exist in your uploads folder but database entries are missing. This plugin scans your files and rebuilds the database entries to restore your Media Library.
Install this plugin, go to Media > Media Recovery, and it shows all files on your server missing from the database. Select and recover them in batches of 10 until everything is restored.
Backup plugins restore entire sites. This plugin specializes in recovering files when they exist on your server but are missing from the database - common after migrations, hosting transfers, or partial database restores.
The free version processes 10 files per batch to prevent server timeouts. Run multiple batches to recover unlimited total files. The Pro version offers unlimited batch sizes with background processing.
No, the plugin won't duplicate or overwrite existing image files. It only rebuilds database entries for orphaned files missing from Media Library.
Multisite support is available in the Pro version. The free version works on single installations only.
The free version scans only the default wp-content/uploads folder. The Pro version allows custom upload folder paths.
No, the plugin never uploads or overwrites files. It only scans existing files on your server and rebuilds database entries to reconnect them to Media Library.
The plugin scans your uploads folder, identifies orphaned files, then rebuilds database entries including attachment posts, metadata, and thumbnail references. Files remain on server unchanged - only database connections are restored.
Yes, if you restored the database from backup but files remained on server, this plugin reconnects those orphaned files to your restored database automatically.
Custom upload folder scanning is available in the Pro version. The free version scans the default wp-content/uploads directory only.
Yes, Media Explorer shows all files with color-coded status. Orange icons indicate orphaned files missing from database. Green checkmarks show files already in Media Library.
Upgrade to Pro
Unlock advanced features and get priority support with the Pro version.
Includes 1 year of priority support and 14 days money back guaranteed.